Where Do You Place Your Weather Station ??A Land Study?? Find The Best Location For The Best Results
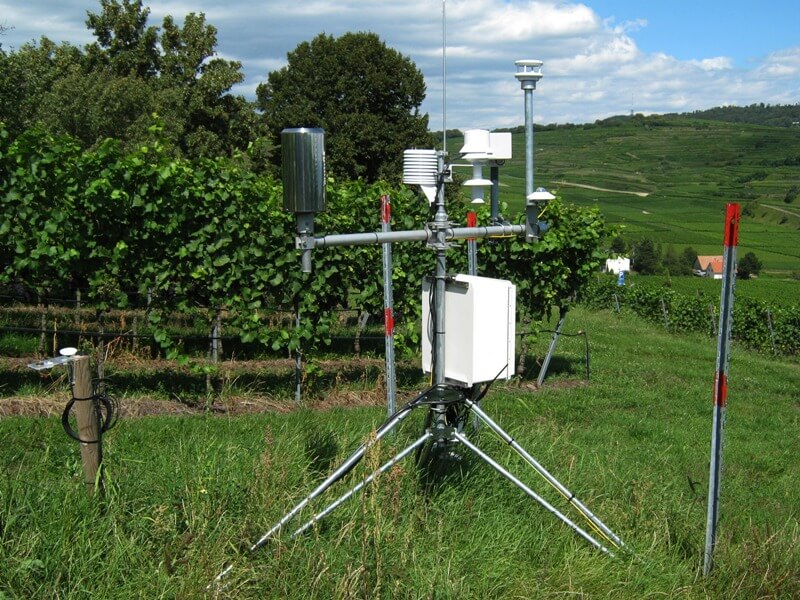
So when you're going to be placing your weather station, you're going to have different types of groundwater, trees, rocks,